Create IAM User Account
How to create an individual IAM user account
How to create an individual IAM user account
You can use this user account to log in throughout the rest of the course.
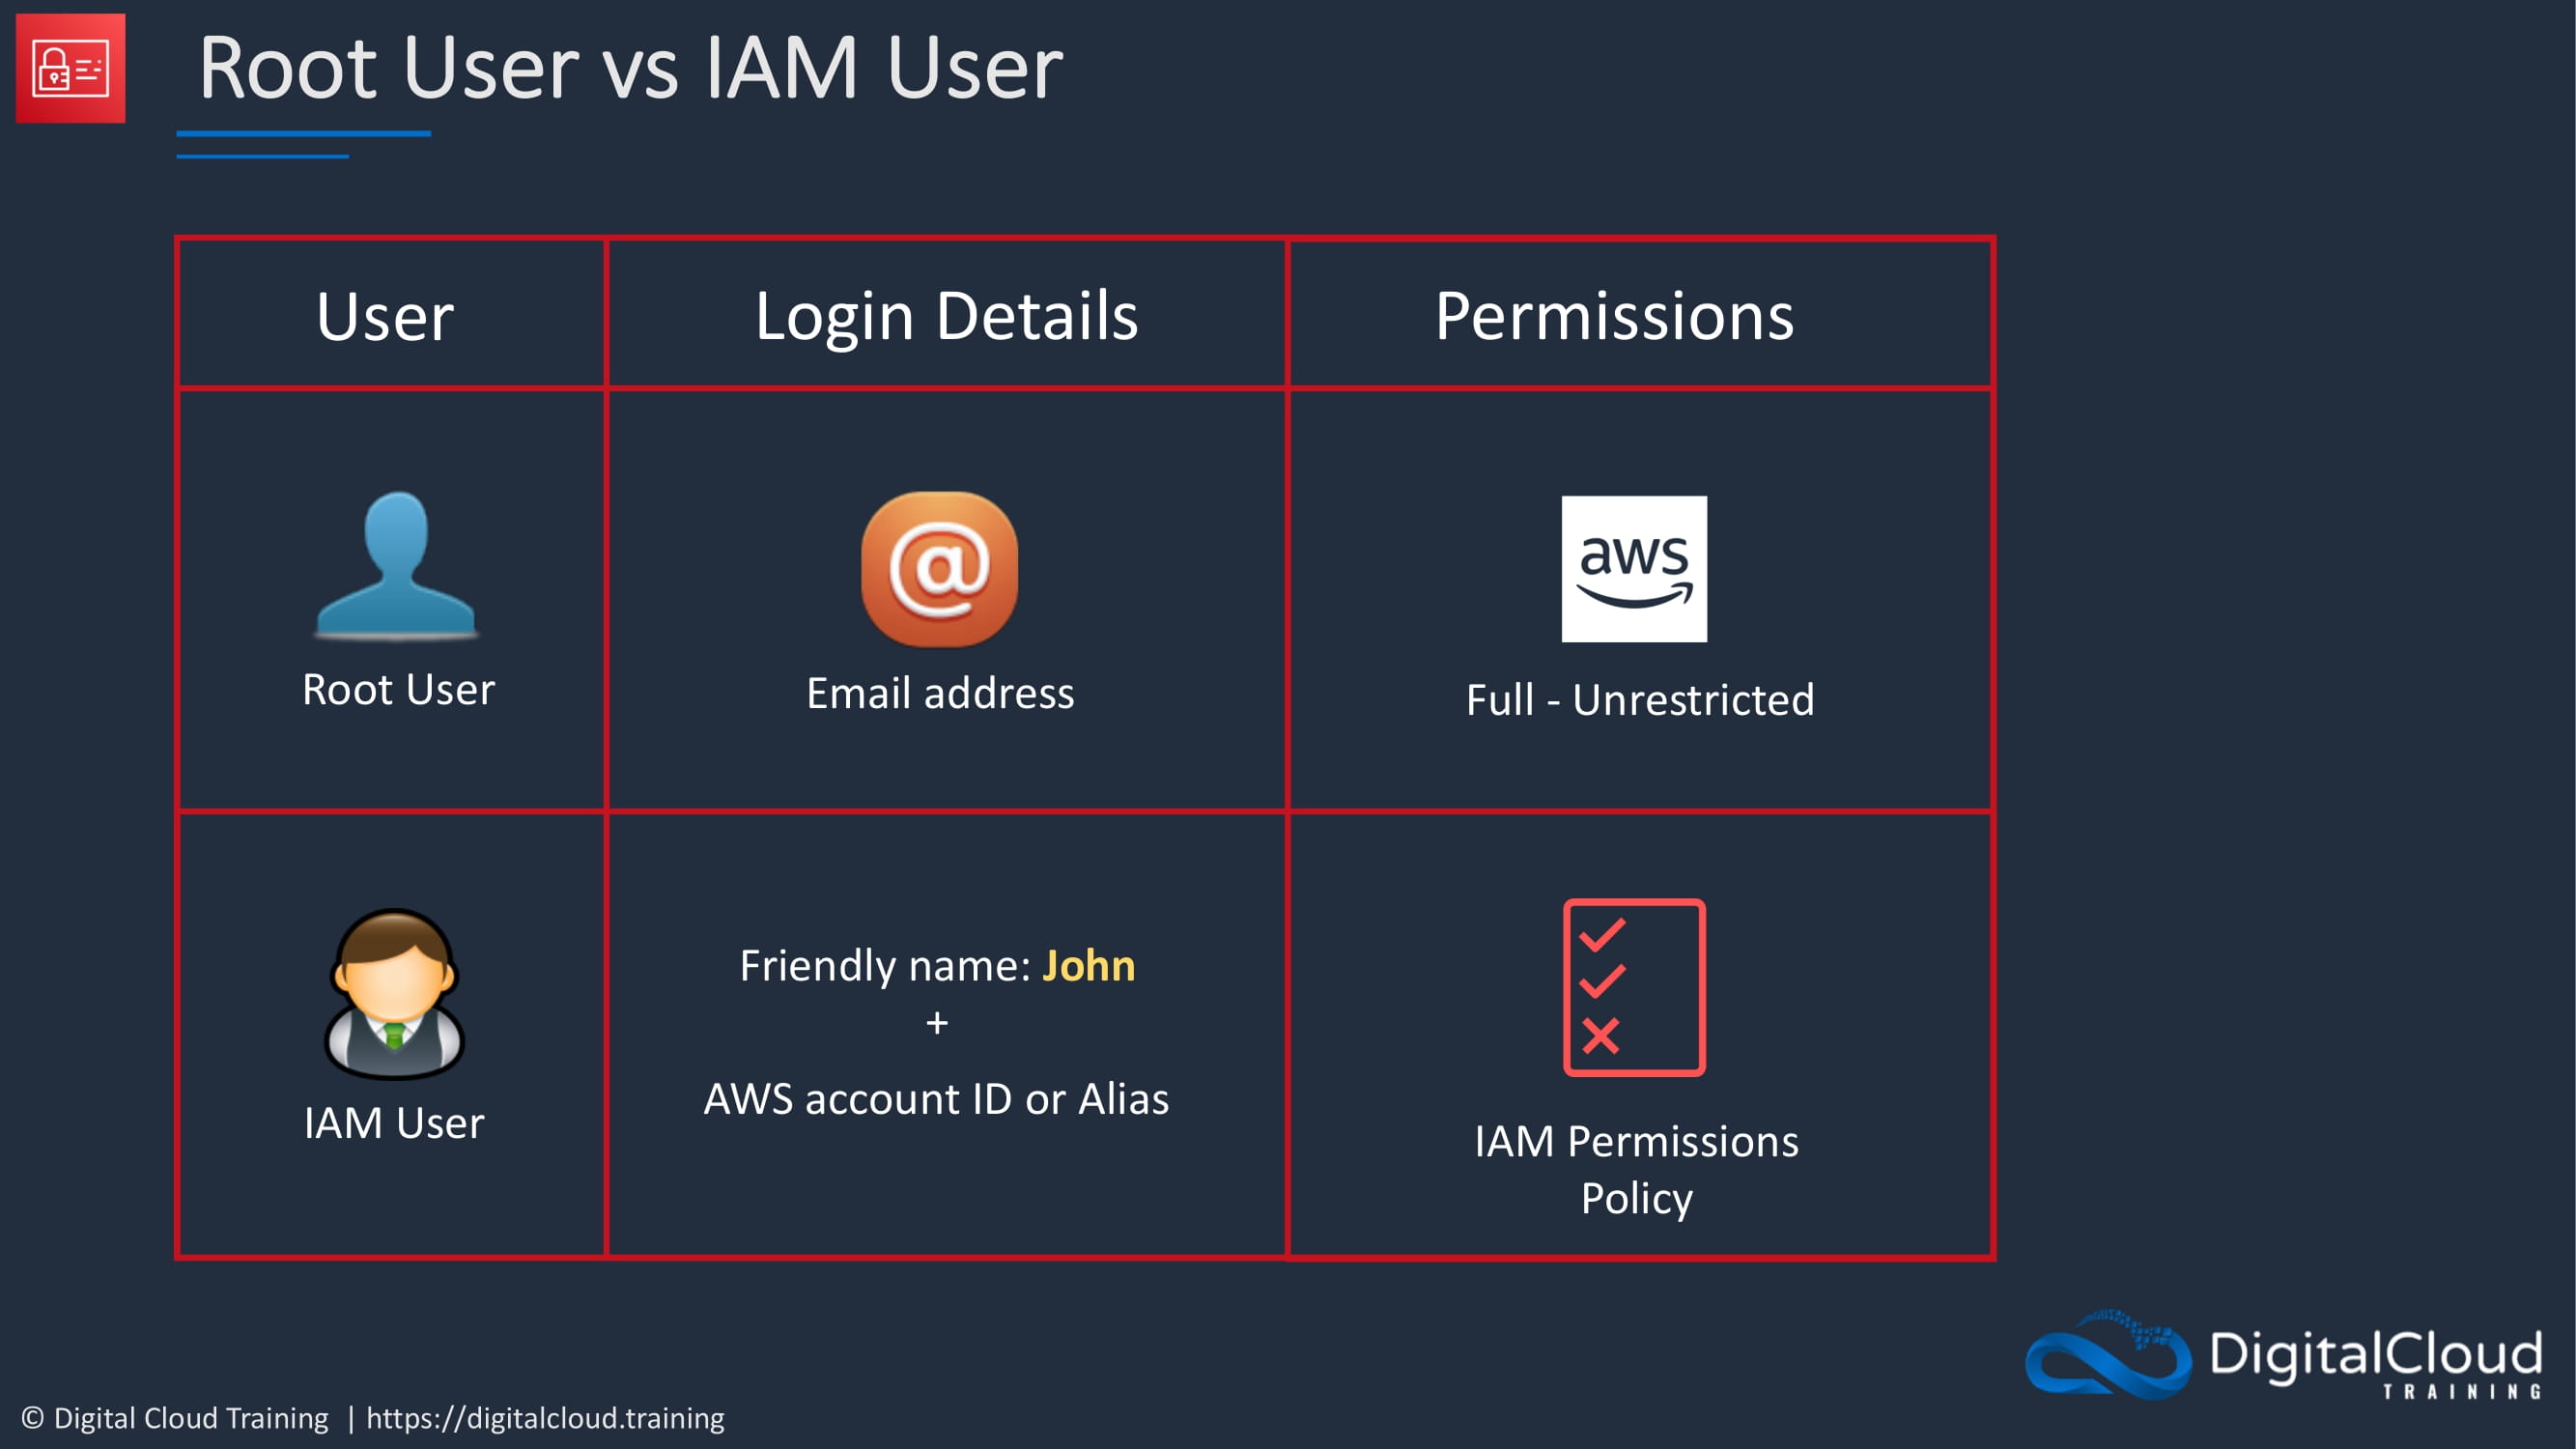
Remember that the root user logs in with the email address that we used to create the account. Now, the root user has full permissions to the account, and those are totally unrestricted. And in fact, it’s very difficult, if not impossible, to remove permissions from the root user accounts. And that’s why it’s dangerous to keep logging in with the root user account.
How create to an IAM user
The user will have a friendly name like John or Neal or whatever you want to call your users, and needs to supply the account ID or the alias at log in.
IAM users have complete control over the permissions that we assign to them. So we can use IAM permissions policies to assign the specific permissions that a user needs to perform their role in the organization.
-
From the dashboard for the IAM service. On the left hand side here, we’re going to click on users.
-
Click add users, and the first thing you need to supply is the username.
-
On the access type there’s two different access types that we can supply to the user. We can either enable programmatic access or management console access or both. Now, programmatic access means that you’re using certain credentials called an access key ID and a secret access key ID interact with AWS using the API, the CLI, or the SDK and all of that will be covered a bit later on in the course. For now, do not enable programmatic access at this point in time. But you should enable management console access.
-
supply a custom password and don’t require a password reset, so disable that option.
-
Click on next. And now we come to permissions.
How do we assign permissions to users?
Well, remember we can attach policies directly to users, which is an option up here, and we have a whole load of policies that are predefined.
We have AWS managed policies, that we can choose one of those and attach it to the user. We can also copy the permissions from another user if we have one,since this is our first user, we have don’t any to copy from.
You can also add the user to a group. The group is the preferable option and it is a best practice. So you create a group. You give the group a name. It’s just going to be called Admins. And this group is going to have administrator access. So I’m going to assign the policy administrator access and create the group. The group is selected, so this user will be added to the group.
Let’s click on next. Under tags, you can add key value pairs to your user accounts. And you can add tags to lots of different resources in AWS. For example, we might add a key value pair of departments with a value of administrators. And that could be useful later on if we wanted to use this information to find users who have this tag applied to them. Let’s click on next and go to the review screen. Everything’s ready.
- Create this user. So the user is being created. You can email log in instructions to a user. Close out of the page. And we now have our user account created.
Now, under user groups, you’ll notice that we now have the admins group. And if we click on that group and look at permissions, we can see the administrator access policy. If I expand this policy here, you can see the JSON code that makes up the policy statement. And JSON stands for a JavaScript Object Notation.
We can see that we have an effect of allow, an action of *, that’s a wild card which means any, and a resource which is also a wildcard. So essentially, this allows any action on any resource.
At this pointwe now have a user set up with full administrative permissions to the account. So let’s log in as our new user. On the top right hand side of the screen,sign out because we need to sign out from our root account first. -Let’s click on log back in, choose IAM user. -We’re going to supply the account alias, which in my case is dct-aws-cloud-labs. -We can select remember this account. -Choose next, and then supply our username and password. My username is Neal. -I’ll put in my password and then click on sign in.
And so now, I’m signed in as Neal, which you can see up in the top right hand side here, says Neal@ And then the account’s alias.
We’re now able to log in with our individual user account and have full administrative permissions over the account. So we no longer need to log in as root.
